CARP Graphic

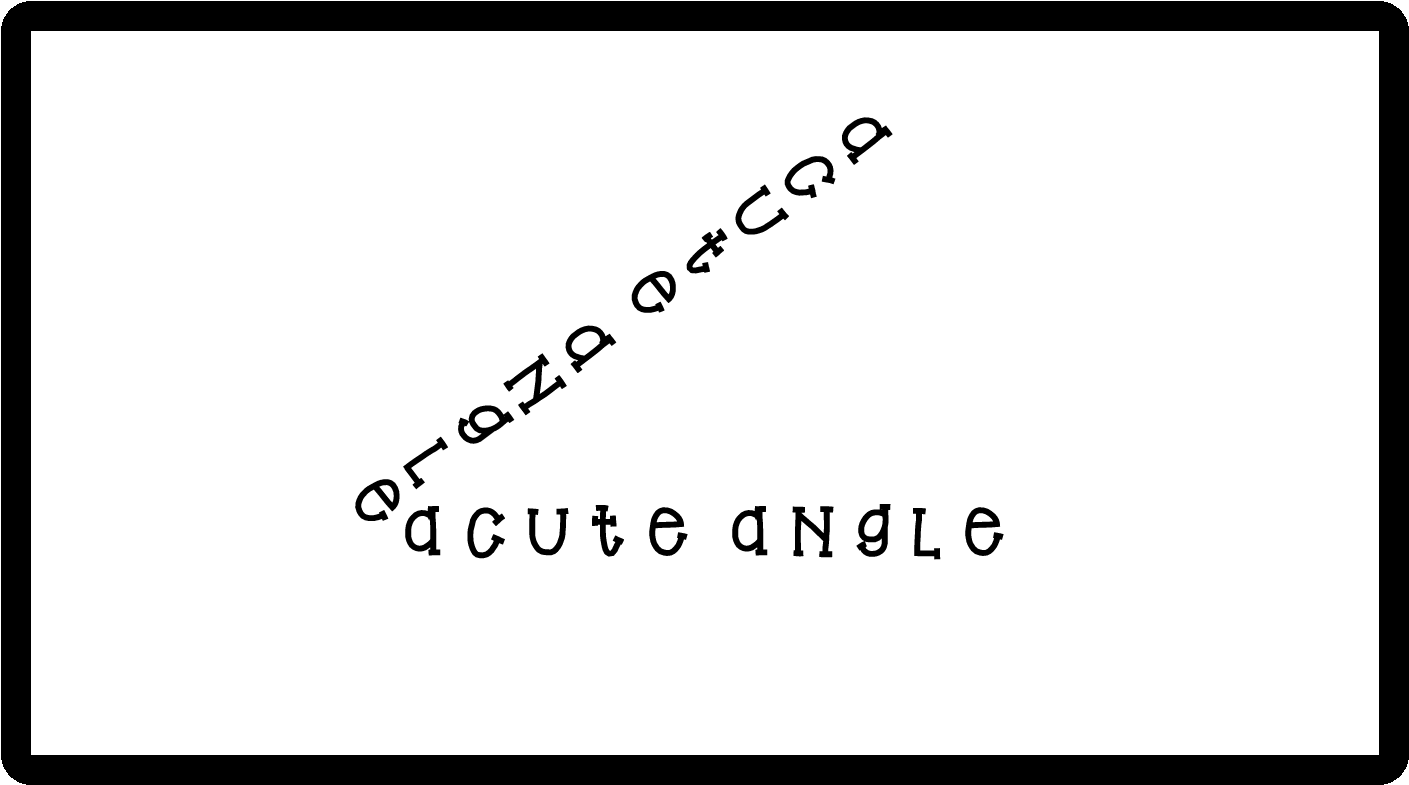
For this week’s graphic, I chose to use Adobe Photoshop to create a graphic based on the actions of CARP (Contrast, Alignment, Repetition, and Proximity).  My image is a poster and/or handout for fourth grade students showing the three different types of angles the students will be learning about.  The students will have a basic understanding on basic geometry skills from the previous grade level and will have already been introduced to points, lines, and rays.

CARP_graphic

I believe this image will help my students have a quick reference sheet to look at.  It is very simple, and not too overwhelming for them.  It is on a light-colored background with contrasting colors of black and blue.  It is aligned with the pictures of the angles going down the left side, the name of the angle going down the center, and the definition of the angle aligned to the right.  I used repetition for each angle, showing an example of each, the name of each, and the definition of each.  Finally, the example, term, and definition are closely grouped together for each angle.

For my user-test, I had my husband look at the image.  He did not have any suggestions.  He also felt like it was very simple, and that adding anything would only make it cluttered.

Design Process Model

For this activity, I used Adobe Photoshop to create a type of graphic organizer to introduce my students to our unit on Geometry.  We will be covering a lot of information during this unit, so I thought it was best to simplify it down to three main areas: non-dimensional, one-dimensional, and two-dimensional.  I used a triangle in the middle, since it has three vertices.  Off of each vertex is one of the types of dimensions.  In the shape for the non-dimensional is a point.  In the shape for one-dimensional is a line segment, ray, and line.  In the shape for two-dimensional is a triangle, square, rectangle, pentagon, hexagon, heptagon, octagon, nonagon, and a decagon.

This unit will be taught to a class of sixteen fourth graders at a Title One school.  The students have had a basic introduction to basic geometry skills.  I feel like this graphic will really be useful in introducing the entire unit to the students.  It is really simple in that it takes everything we will be learning and narrows it down into only three categories.  I feel like it will be a good visual for my students to see and understand what they will be learning about over the next several weeks.

For my “user-test,” I had my husband look at my graphic.  He gave me quite a few pointers.  He is a drafting teacher, so he is very familiar with graphic design programs, and was able to give me some good advice on improving my image.  He suggested adding a background to add dimension and to use one color to make it more uniform and simple.  I had used ovals instead of the shapes on the vertices of the triangle, and they were angled.  I felt like they looked just out-of-place, and he agreed with me.  So now, they are straight and all aligned.

design_process_model_2

Shape Tool

For my shape tool, I created an image showing the various shapes I will be teaching in my geometry unit: triangles, quadrilaterals, pentagons, hexagons, heptagons, octagons, nonagons, and decagons.  My target audience is a group of 4th graders who have learned about triangles and quadrilaterals, but have had little exposure to shapes with multiple sides.

I am brand new to graphic design, and I am finding out that what I am creating on the computer is not turning out like the picture I had in my head.  That is the case with this image.  I wanted something to show how each shape is increasing by one additional side.  I came up with the shape of a tree, because like the shapes grow in number of sides, a tree also is something that grows.  So, I started at the bottom with the shape that has the smallest number of sides, the triangle, and went up from there, ending with the shape that has the most number of sides (for this unit), the decagon.  I also made each shape a color of the rainbow, showing how they are growing in a linear fashion.

Thinking about my students this year, I do think this image will work.  Many of them strongly need visuals to help them remember ideas.  If they can recall the tree, hopefully, they will be able to then go through the colors of the rainbow to get to the shape they are trying to recall.  It is very colorful and appealing to the eye as well.

I showed this image to my student teacher, and she loved it.  She thought it would also be great to use during our geometry unit.  She herself is a very visual learner, and she said that something like this would help her a lot.  She unfortunately did not have any suggestions.  I know that this image could use a lot of help, so I would love to hear some additional suggestions, as I would really like to use this in my classroom.

tree_image

Typography

For my final project, I will be doing a unit on Geometry skills for fourth graders.  I will be focusing on points, lines, rays, angles, and two-dimensional figures.  My students will have already had a brief introduction to these topics.

The first image is an image for parallel lines.  It takes the two l’s in the middle of the word and shows an example for parallel lines.  This will give the students a visual along with the word to help them remember what parallel lines are.

parallel

The next image I created is for perpendicular lines.  This image again will give the students a visual using the words to help them remember what perpendicular lines are.  The two words cross in the middle at the letter “D.”

perpendicular

The next three images are images that will give the students visuals using type to help them remember the three types of angles: a right angle, an acute angle, and an obtuse angle.  In each image, the words describing the type of angle and angled to show what those angles look like.

right_angle

acute_angle

obtuse_angle

I had my husband look at the images.  He gave me two great ideas to improve them.  He first said that possibly adding color.  He then questioned this, not knowing how color would really help the students.  However, this past summer, I took a course on Quantum Learning.  During this training, we constantly used various colors, coding the different information we were learning.  If I “assigned” a different color to each image, or word, and then used that same color every time I drew or talked about that topic, this could possibly help trigger the students’ brains.  He also suggested adding a picture to go along with each word to give a second example of what that word looks like.